Sunday, August 2, 2015

CHALLENGE: Collaboration Quilt (Part 2)

I talked last week about the collaboration quilt our art quilt group created of Bronson Park in Kalamazoo, MI.  I mainly focused on the quilt as a whole last week; this week I want to focus on behind the scene of my piece and things to consider when creating collaborative art.

I believe the 10 artists that created our collaboration are courageous, extraordinarily courageous.  I do not think I am alone when I say, I jumped in with both feet and soon was flooded with the complexity of the photo coupled with how to execute it while keeping my own voice.

Here is the photo that  I was working with:
  
I was fortunate that my sister could enlarge and print it to the size of the finished piece (15" wide by 30" high). I used my light-box to trace the major shapes onto tracing paper. I also taped the enlarged photo to a window, overlayed it with muslin and traced the major lines (sidewalk, pond, building outline).

A very large part of this photo is the sidewalk; I did not want it to look like the typical grey concrete.  It took two or three trials until I finally ended up with this look:
I used a course fabric, did three different layers of paint/speckles, and finally a pebble quilt stitch. In the end, I am pleased with the look.

An important part of my slice was "the guy"; other members shied away from him while I fell in love with him:
His hair is made up of many, many little French knots.  It was made as a separate wig and added to the man at the end.  Here are close-ups of the shoes, briefcase, and bag of cans:
His jeans are made from denim and his shoes and briefcase are made of leather. I think my favorite is the bag of cans; it is a 3-D object on the quilt.  Each can started with a small segment of a wooden dowel then I painted rectangles of fabric with different flavored cans of soda.  I glued and wrapped the fabric around the dowel and trimmed the top/bottom of each can with silver trim.

Further in the background is the man with his lawn chair heading to a concert in park.  I used wire for the frame and my quilt neighbor was fine that his chair lapped over to her slice.
I enjoy making landscape quilts, but by far I love, love the process of creating the details,

Lessons Learned Creating Collaborative Art:
  1. Selecting Your Photo:  We were fortunate that Carolyn, our fearless leader, auditioned our photo with some of the group. When looking at the photo, it is important to have one item that is going through all of the slices. For our quilt, it was the sidewalk that unified us. Also, think about each individual slice and make sure there is something interesting for each artist. 
  2. Selecting the Artists. Will it be open to anyone in your larger group or do you want to make it an invitational?  When considering artists to invite, think about their work. Do they complete things that they start? Or are they always adding to their UFO stack? Do you like what they make?  They do not have to match your style (actually a variety of styles is more fun), but you may want to consider their workmanship. How is their communication?  Are they good at answering emails?  And of course, can you get along with them (especially during stressful times). 
  3. Creating  a Smooth Collaboration. You may want to come up with an informal agreement how to handle things affiliated with the collaboration process. Things to think about: You may want to consider milestones for the completion of the quilt. Maybe planning during the first month, patterns made/fabric selected the second month and so on. Now the tough part, what are you going to do if someone is not meeting deadlines and/or stops communicating with the group?  When the quilt is completed, what will you do with it? Will it be for sale? Is everyone good with it being donated or put on permanent loan? What kind of liberties can members take?  Do you have to have everything that is in the picture on your quilt?  Can you add things (i.e., flag poles, street signs, people)?  And if you add things, do you have to let the group know?  What are the important match-up points for two slices next to each other? This informal agreement does not have to be a contract; I would recommend just getting together as group to come to a consensus how things will be handled.  Have one person put it into an email and everyone just needs to reply with an "Agreed".
  4. Making Your Quilt. We all make quilts and know the size of it, but in this case you must have an exact size for your quilt slice. Sounds easy, right?  It is tougher than it sounds. I would suggest as you make your slice, you extend your work at least 1/2 inch all around edges. When you quilt the quilt, it will shrink a bit; it is preferred to cut some finished work off than be short. When you are finishing your quilt slice, if you bind the quilt, you will probably extend the measurement each direction by 1/8 to 1/2 inch. Conversely, if you decide to turn your quilt, you could lose the same amount of inches on each side. 
Whew!  That is a lot to think about!  Better to think before than after!

Have I scared you away? Or do you think that you would be interested in taking part in a collaboration quilt?  Let me know if you enjoyed my description.  If you have a question about the process or would like to add your thoughts about a slice quilt, please add comments to this blog post.

Remnants
I struggle with taking pictures for my blog; I am always lugging backdrops and lights throughout the house to get the get a good picture and none are ever great.  I came up with a crazy idea, my hubby thought it was good and agreed to help with it.  I purchased an old fashioned roller shade and mounted it above the storage closet in my studio room.  Here is my storage closet:
And here is the shade above the closet:
I roll a small table over in front of the closet to hold my art work:
Pull the shade down and place washers on it to keep it in place:
I am very pleased with the outcome!  I am no longing lugging backdrops around the house and if I am working in the studio, it takes less than a minute to set-up and the same to take down.

Do you have any secrets to taking good photos of your work?  Post your suggestions as a comment to this blog.

NEXT TIME: How do you handle all those magazine articles with things you want to try (but never seem to get around to it).

Have a great week! Kathy

Sunday, July 26, 2015

CHALLENGE: Collaboration Quilt

Carolyn, from my Art Quilt Group, organized a collaborative slice quilt for members of the group. Here is the panoramic photo that Carolyn took of Bronson Park; she sliced it into 10 pieces, we each picked a slice and our collaboration began.  
I believe all (or most of us) started with such enthusiasm, but then we realized this was much more difficult than first glance.  We began in the Fall of 2014, and played with it (except one member who finished hers within 30 days!).  In February 2015, we received an invite to show our slice quilt at a gallery during our Kalamazoo's monthly Art Hop.  We pulled together and created a work that we are all proud of as shown below:
Here are the individual pieces (in order):

Jackie S.
Jenny G.
Kathy Kerstetter
Ann B.
Diane O.
Jean D.
Carolyn Z.
Sheryl D.
Mary B.
June B.
We were honored when our local Public Radio station, WMUK, came and interviewed us, you can listen to it here:
We ended up with a wonderful Art Hop and all of us are very proud of the final product.  Next week, I will show a close-up of my individual slice and some things to consider if you are going to enter into a collaborative quilt.

Have you ever participated in any collaborative art?  Are you interested in being part of a collaboration?

Remnants
As you may or may not know, I teach at our local community college (and I LOVE my job).  Winter term was probably one of the toughest terms in my ten years at the College. I had almost three new classes to prep and definitely had my hands full.  I woke up most morning at 5:00 am to get a jump on the day and then work late into the evening (can you tell that my blog suffered during this time?).  At the end of the semester, I was exhausted!  I vowed that this summer I was going to take more time to read and create.

Mt favorite place to read at our home is a small balcony that is off of our bedroom; it is over three stories high.  Here is my little heaven:

And the view from above:
 
I love how peaceful this spot is and I feel like I am hiding from the world when I am there.

Do you have a favorite place to slip away to?

Have a wonderful week!  Kathy

Sunday, July 19, 2015

CHALLENGE: Erosion

e·ro·sion
əˈrōZHən/
noun
the gradual destruction or diminution of something.

My 12x12 group had the challenge "Fear". I had to think long and hard about fear; I finally decided to focus on erosion.  Erosion can be applied to many areas of our lives...erosion of the beach at Lake Michigan..erosion of your health as you age...erosion of world-wide safety...so many things can gradually destruct creating fear.


My piece is inspired by an Edward Burtynsky photo shown below:

A close-up of my piece is below. After creating the landscape, I used rust to create a tributary-like flow across the piece.  Some seed stitches finished it.
  
Remnents
I found this delightful sewing reality show on British television called The Great British Sewing Bee. I watched the first season via this link: Sewing Bee Season 1 . Season 2 and 3 can be found on YouTube.

I loved this show because of the people.  I used to manage a plant in England and this show brought back memories of the workers.  I believe you, also, will find these contestants every day, lovable people with outstanding skills.  I smiled through much of this first season.


Do you have a favorite sewing show that you watch?

Enjoy!  

Kathy

Sunday, February 22, 2015

ART QUILT GROUP: Complementary Color Challenge

expect nothing, appreciate everything...

I count my self very lucky to have a group of textile artists in my town that are as passionate about making things as I am AND I really appreciate this group.

If you have been following my blog, you will remember that my Art Quilt Group had a crayon challenge last year where we would randomly select three crayons out of a box of 64 Crayolas and create a 12 x 12 art quilt using just these three colors.

This year we have chosen to diversify our monthly challenges; for the month of February, our challenge was to use complementary colors.  Below are the results:

First up is Diane being inspired from a class she took from Gwen Marston.  I didn't get a get photo of it, but her binding is yellow halfway around and purple the rest of the way- it was very cool!

This is Doha's; she is off to a great start, but tells us that a big knitting project has been the priority for her this month.
Jackie created this wonderful feather stamp from etching on a Styrofoam plate; I love the movement of the hand stitching.

This piece was created by Jenny; this is her first attempt at beading and I must say she is definitely got the knack for it!

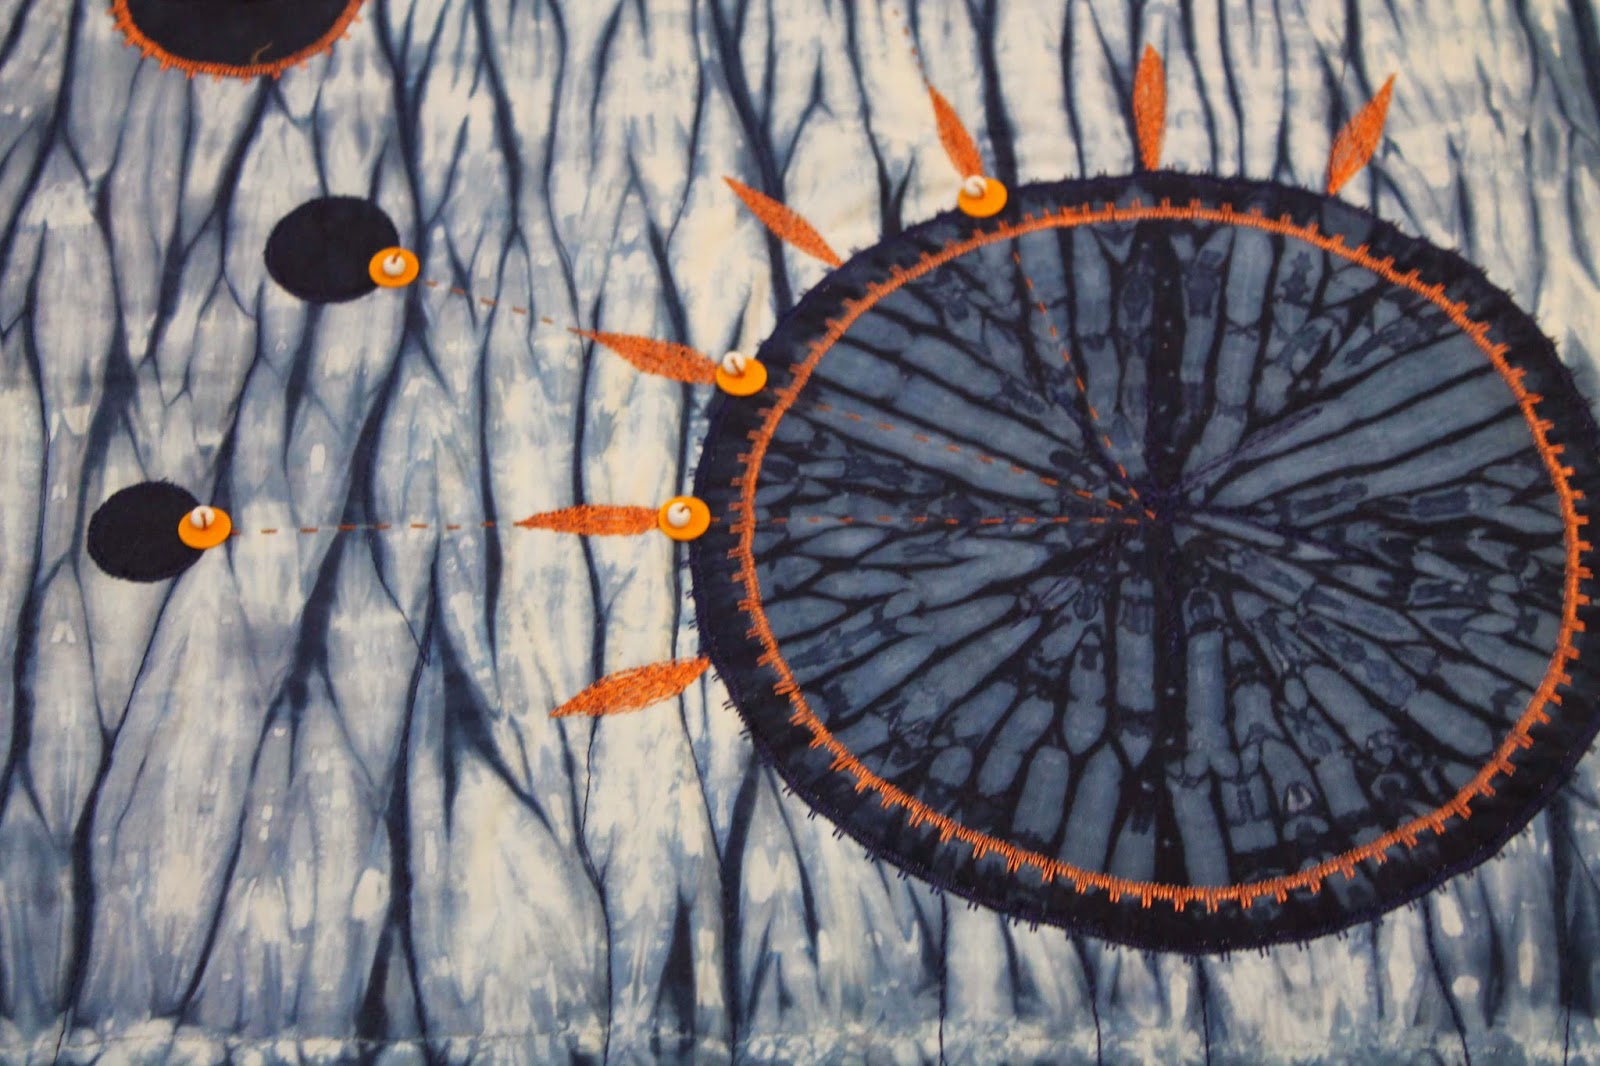
June has taken her hand-dyed indigo fabric and coupled it with burst of orange.  Her binding is sari ribbon and yarn twisted then stitched on.


Mary also used a Styrofoam plate, but stamped with bleach to get the effect of a stone rubbing.  It really stunning!


Lastly, this is mine.  I decided to do a modern quilt; I am pleased with the outcome.
In March, we are working with usual materials...the material we are using are netting bags that hold fruits and vegetables in the grocery store.

Sunday, February 15, 2015

CHALLENGE: The Sea

The sea does not reward those who are too anxious, too greedy, or too impatient. One should lie empty, open, choiceless as a beach - waiting for a gift from the sea.
~Anne Morrow Lindbergh

My 12x12 group's last challenge was the sea, here is my piece:
 My piece for 'The Sea' is my interpretation of sea foam. I hooped water soluble stabilizer and heavily thread painted the large foamy pieces.  
This is what the piece looked like when I put the needlework onto the quilted base before I began the handwork.
The final piece.
 And most important, Jack, my adviser and coach in everything I make.
We have new members and their work is FABULOUS!  See all of "The Sea" challenges at: http://upforachallengeartquilts.blogspot.com/