Showing posts with label Quilting Arts. Show all posts

Monday, September 15, 2014

DESIGN: Taking My Art with Me! and Giveaway

Being creative is not a hobby; it is a way of life.
I love making art quilts, but what I love even more is using my art quilts in wearables. I have used two of my 12" x 12" art quilts to adorn my iPads.

This is a challenge quilt for the theme incandescence. You can read about how I made it here.
This second challenge quilt is for the theme Celestial. You can read about how I made it here.
For both of these art quilts, I created custom iPad skins for the outside from a photo of the quilt. I love how both the outer skin matches the wallpaper.   
With the same photo of the quilt, I went to Spoonflower and created custom fabric.  If you have not read about Spoonflower, you can read more about it here. With my custom fabric, I made a heavily quilted mini quilt for the outer case and another mini quilt for the inside of the case.  I adhered the two mini quilts together to create a strong and durable case.
Below are the insides of the iPad cases.  The key to making these tablet cases are two-fold:
  1. Both mini quilts must be heavily quilted.
  2. I use wax on the outside to help the fabric weather anything it could encounter.
When iPads first came out, I made a case for my first generation iPad  , I still use it today and it has very little wear on it (the photos below were taken after I had been using the case for about two years); you can read about it here. 

Thanks for reading my blog today.  Leave me a comment and I will pick a person to win these three fat quarters that I hand-dyed (2- cotton, 1-velvet). Check my blog Tuesday at 5 pm (EST) for the winner!
I have another blog posting today about Quilting Arts Holiday 2014.  I talk about my love affair with homemade ornaments.  Though most of the ornaments I show on the post are for my pre-art quilting years, I wrote the post more so to talk about our holiday traditions.


Quilting Arts Holiday and Giveaway

Christmas, my child, is love in action. 
Every time we love, every time we give, it's Christmas. ~Dale Evans
I am very excited to be part of Quilting Arts Holiday. My article shows you how to make the ornaments on the cover of the issue.
Most of my life, I have had a love affair with homemade ornaments.  I am the youngest of five children and when my older sisters and brothers began to have children, I began making ornaments annually for my nieces and nephew.  I always gave the ornaments at Thanksgiving dinner, so I have vivid memories of racing around Thanksgiving morning, sewing, gluing, painting the last bits of the ornaments.

I have such wonderful memories  scouring the newsstands every year looking for holiday issues of magazines to come out to find the perfect annual ornament.  I still have these old magazines and look through them each year.

When I was in college, my creative skills and my pocketbook were very limited and the ornaments showed these lackings; often, I did not even have enough money to make an extra ornament for me to keep.  Here are some of my early ornaments:


1984: These were obviously from a kit.

 
Mid-80's: Santa made from sawdust. 

 
1990: A gold lame angel  (what was I thinking!?).

1991: Cinnamon stick painted Santa.

Then came the years that I could afford to make the ornaments, but I was working so many hours at my job, I looked for cute and simple.


2000: Snowman, Angel, Santa, Teddy Bear felt stuffies.
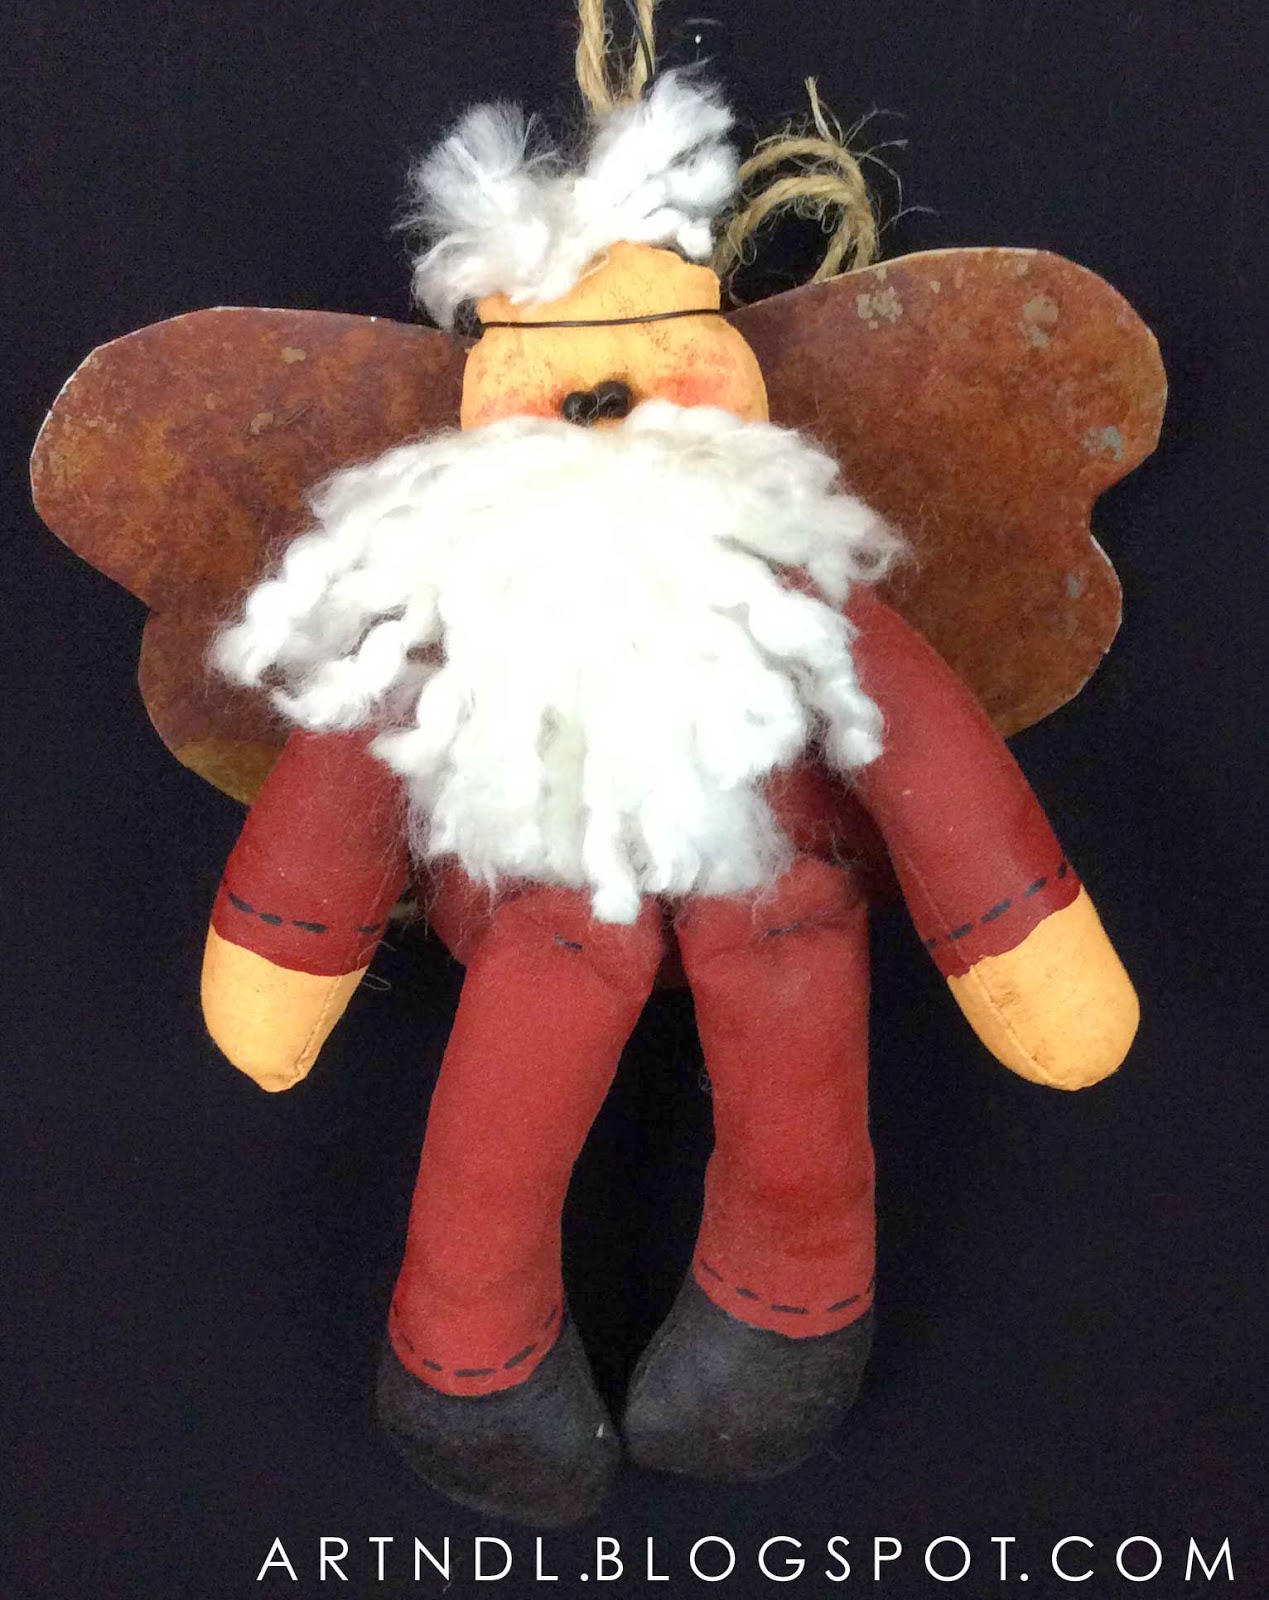
2001: Snowman, , Santa,  Deer are made from muslin, stuffed, painted and then added rusted wings.  

2002: A conical Santa (it was tough getting the beard/face detail on camera)

 
2005: A snowman made from vintage quilts.

 2006: This ornament pattern was from an issue of Piecework magazine.

I also began to make to make bags to store the ornaments.
 

The other part of my homemade ornament love affair are the ones that were made for me.  
These are some of the many homemade gifts that my college roommate (and still very dear friend), Maria, has made for me over the years.

 One of my art doll friends made these Julie McCullough ornaments for a group of us.

This is an oldie, but goodie; I received this clothespin soldier when I was in college during a secret Santa exchange. I treasure it every year when I put it on the tree.

As I look back on all of the ornaments that I made, I am most proud that I created a tradition that went on for over 30 years.  Each of my nieces and nephew received a box of 'Aunt Kathy' ornaments when they moved out of their parents' home; they talk about how much joy it brings when they decorate their trees annually.

Thanks for reading my blog today...I hope you enjoy Quilting Arts Holiday issue!  Leave me a comment and I will pick a person to win these three fat quarters that I hand-dyed (2- cotton, 1-velvet). Check my blog Tuesday at 5 pm (EST) for the winner!

Sunday, August 31, 2014

ART QUILT GROUP: Surface Design

art is an adventure into an unknown world, which can be explored only by those willing to take risks. ~Mark Rothko

In volume 8 of Quilting Arts' e-mag, 'In Stitches', there is a fun article, 'A Collaborative Collaboration'.
Essentially six different artists conducted a surface design round robin.  My Art Quilt Group talked about it and four members decided to partake.  
Here are the rules from the original group:
  • Each of us started with a plain white fat quarter.  
  • Each artist added a layer of surface design to each fat quarter, using a variety of techniques.  
  • We limited our techniques to surface design methods, so embellishing, cutting, sewing, and collaging were not permitted. 
  • Surface design covers such a wide array of techniques that there seemed little danger in running out of new things to try. 
  • Dyeing, painting, stamping, printing, discharging- and other techniques- were used by the participating artists.
So for our group, we each needed 4 fat quarters and performed the smae suface treatment on all four pieces.  The next month, these four pieces were given to the next person for them to add another type of surface design.  After four rounds, we each ended up with four different fat quarters.

As the round robin progressed, it became stressful to add an additional surface treatment. We asked ourselves,  "What if after three rounds, I ruin the piece?"  We all agreed that the experimentation was worth the risk.

Here are our results:
Techniques for above piece:
1. Fabric Painting: Setacolor transparent- Ultramarine Blue
2. Resist Dyeing: Flag folded with popsicle stick resist- Dharma's #15Magenta Dye
3.  Fabric Painting: Applied with texture roller- Jacquard Textile Color, #110 violet and #123 white
4. Stamping: Applied with circular daubers- Jacquard Dye-Na-Flow, 822 Sulfur green, Jacquard Textile paint, 123 White, and 568 Pearl

Techniques for above piece:
1. Hand-dyed with Dye Magnet: Dharma #61 Ice Blue
2. Over-dyed with flour paste resist: Procion Mx #086 Forest Green
3.  Printed:Printed with cut leaf shapes from plastic plates
4. Sponge print: Olive green acrylic

Techniques for above piece:
1. Hand-dyed: Navy Procion, double strength
2.  Paint: Yellow acrylic paint
3.  Foil: red foil with steam-a-sem
4. Discharge: Bleach pen on back side 

Techniques for above piece:
1. Hand-dyed: Procion, 072 Medium Blue and 192 Lilac
2.  Printed with Bubble-wrap: Mix of Luminiere Pearl White and Dye-Na-Flow Violet.  Applied with a brayer
3.  Stencil: Freezer paper stencils (used 16 times!)
4. Rubbings: Paintstiks rubbed over a rubber-stamp

We enjoyed this round robin so much we are talking about starting another one next month!  Until then, the challenge is to see who uses one of their fat quarters first!


Monday, October 25, 2010

Quilting Arts Magazine


You are today where your thoughts have brought you; 

you will be tomorrow where your thoughts take you.
~James Allen


I am very excited! I have an article published in the current issue of Quilting Arts Magazine (Oct/Nov 2010). When I received my copy and I think my heart skipped a beat when I saw my artwork in print.

The article is on page 64 (not that I have that memorized or anything!) and is about using scraps in needle-felting to make a felted stash of fabric.  Here is a link for more information that was not in the printed publication:

Below is one of my favorite things to make with my felting stash- a felted heart card.


Have you ever needle felted?  What did you make?