Showing posts with label hand embroidering. Show all posts

Monday, September 15, 2014

DESIGN: Taking My Art with Me! and Giveaway

Being creative is not a hobby; it is a way of life.
I love making art quilts, but what I love even more is using my art quilts in wearables. I have used two of my 12" x 12" art quilts to adorn my iPads.

This is a challenge quilt for the theme incandescence. You can read about how I made it here.
This second challenge quilt is for the theme Celestial. You can read about how I made it here.
For both of these art quilts, I created custom iPad skins for the outside from a photo of the quilt. I love how both the outer skin matches the wallpaper.   
With the same photo of the quilt, I went to Spoonflower and created custom fabric.  If you have not read about Spoonflower, you can read more about it here. With my custom fabric, I made a heavily quilted mini quilt for the outer case and another mini quilt for the inside of the case.  I adhered the two mini quilts together to create a strong and durable case.
Below are the insides of the iPad cases.  The key to making these tablet cases are two-fold:
  1. Both mini quilts must be heavily quilted.
  2. I use wax on the outside to help the fabric weather anything it could encounter.
When iPads first came out, I made a case for my first generation iPad  , I still use it today and it has very little wear on it (the photos below were taken after I had been using the case for about two years); you can read about it here

Thanks for reading my blog today.  Leave me a comment and I will pick a person to win these three fat quarters that I hand-dyed (2- cotton, 1-velvet). Check my blog Tuesday at 5 pm (EST) for the winner!
I have another blog posting today about Quilting Arts Holiday 2014.  I talk about my love affair with homemade ornaments.  Though most of the ornaments I show on the post are for my pre-art quilting years, I wrote the post more so to talk about our holiday traditions.


Quilting Arts Holiday and Giveaway

Christmas, my child, is love in action. 
Every time we love, every time we give, it's Christmas. ~Dale Evans
I am very excited to be part of Quilting Arts Holiday. My article shows you how to make the ornaments on the cover of the issue.
Most of my life, I have had a love affair with homemade ornaments.  I am the youngest of five children and when my older sisters and brothers began to have children, I began making ornaments annually for my nieces and nephew.  I always gave the ornaments at Thanksgiving dinner, so I have vivid memories of racing around Thanksgiving morning, sewing, gluing, painting the last bits of the ornaments.

I have such wonderful memories  scouring the newsstands every year looking for holiday issues of magazines to come out to find the perfect annual ornament.  I still have these old magazines and look through them each year.

When I was in college, my creative skills and my pocketbook were very limited and the ornaments showed these lackings; often, I did not even have enough money to make an extra ornament for me to keep.  Here are some of my early ornaments:


1984: These were obviously from a kit.

 
Mid-80's: Santa made from sawdust. 

 
1990: A gold lame angel  (what was I thinking!?).

1991: Cinnamon stick painted Santa.

Then came the years that I could afford to make the ornaments, but I was working so many hours at my job, I looked for cute and simple.


2000: Snowman, Angel, Santa, Teddy Bear felt stuffies.
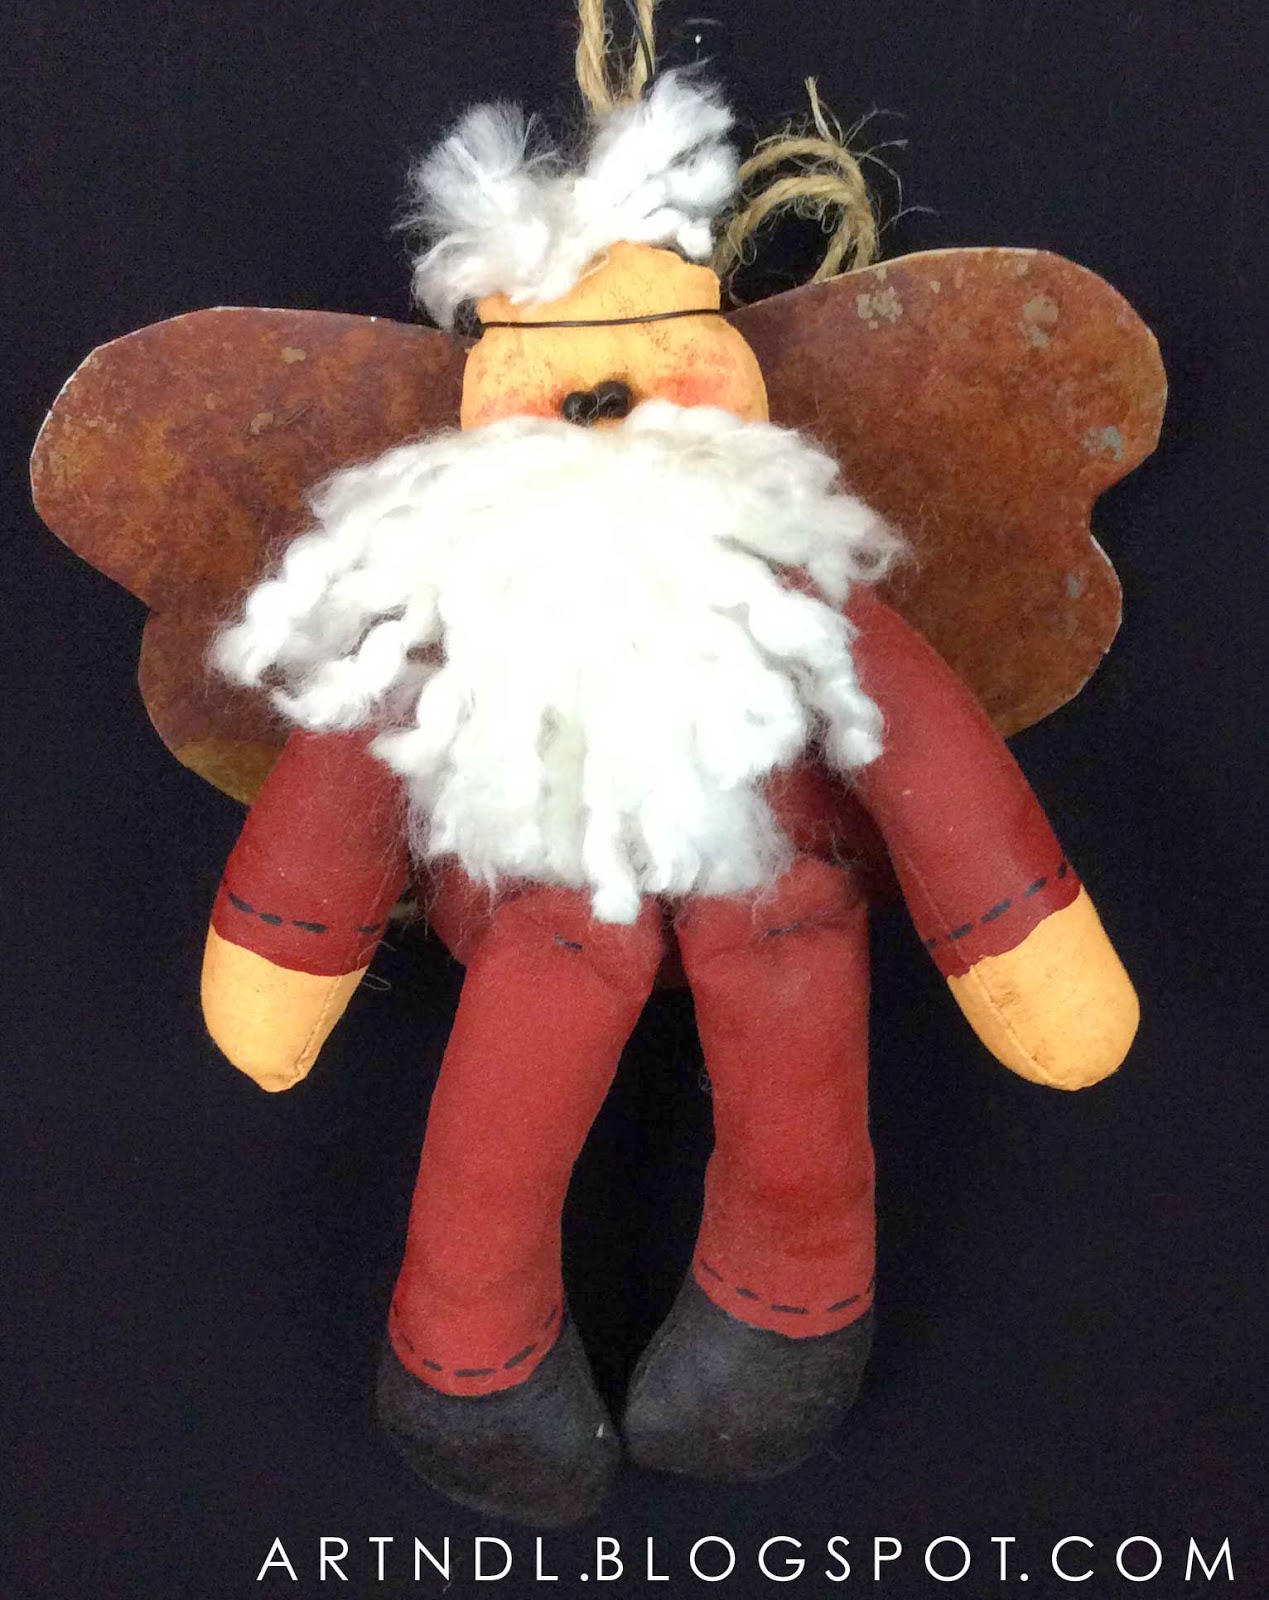
2001: Snowman, , Santa,  Deer are made from muslin, stuffed, painted and then added rusted wings.  

2002: A conical Santa (it was tough getting the beard/face detail on camera)

 
2005: A snowman made from vintage quilts.

 2006: This ornament pattern was from an issue of Piecework magazine.

I also began to make to make bags to store the ornaments.
 

The other part of my homemade ornament love affair are the ones that were made for me.  
These are some of the many homemade gifts that my college roommate (and still very dear friend), Maria, has made for me over the years.

 One of my art doll friends made these Julie McCullough ornaments for a group of us.

This is an oldie, but goodie; I received this clothespin soldier when I was in college during a secret Santa exchange. I treasure it every year when I put it on the tree.

As I look back on all of the ornaments that I made, I am most proud that I created a tradition that went on for over 30 years.  Each of my nieces and nephew received a box of 'Aunt Kathy' ornaments when they moved out of their parents' home; they talk about how much joy it brings when they decorate their trees annually.

Thanks for reading my blog today...I hope you enjoy Quilting Arts Holiday issue!  Leave me a comment and I will pick a person to win these three fat quarters that I hand-dyed (2- cotton, 1-velvet). Check my blog Tuesday at 5 pm (EST) for the winner!

Sunday, August 24, 2014

DESIGN: What a Summer! & Kantha Vest

Art is the only way to run away
without leaving home ~Twyla Tharp
My poor blog!  It has become so neglected this summer, but it has been an unexpectedly busy summer revolving around my dear family.

First, my niece that lives in Phoenix acquired Guillain-Barré syndrome which is a serious disorder that occurs when the body's defense (immune) system mistakenly attacks part of the nervous system. This leads to nerve inflammation that causes muscle weakness and other symptoms. My niece is paralyzed from the chest down with very limited use of her arms.  My sister (my niece's mom) and I have traveled to Phoenix four times this summer. We leave again tomorrow to move my niece and her two children to Michigan.  Here is a photo of my great niece and great nephew- they have stolen my heart this summer!
The second thing that took some time was helping my other sister with her wedding business; she decorates wedding and reception venues.  Obviously, this has been a busy time of the year, so I have been lending a helping hand.  Here are some photos of what they do:


Here is their Etsy store that has lots of their printed paper products and here is their Facebook page with LOTS more photos.

I have always been very close to my two sisters, this summer has made us even closer!

Now back to my quote at the beginning, Art is the only way to run away without leaving home.  This week I am running away to India; I love Kantha! Kantha is a type of embroidery popular in eastern South Asia, especially Bangladesh and the Indian. Kantha stitching is also used to make simple quilts  Kantha comprises of the simplest stitch in the language of embroidery - the running stitch.  

Here is my Kantha board on Pinterest. For a long, long time, I have wanted to make a piece of clothing with Kantha stitching. With all the hours on airplanes this summer, it was the perfect time to embroider.

I pieced the vest sections together using a combination of Kaffe Fassett fabric and some of my own hand-dyes. For the quilting layers, I did not use batting, I wanted a thinner sandwich, so I used flannel instead.
My dilemma was how to make sure that my stitching lines were straight and evenly apart.  I considered marking tools, but felt this would be tough because most marking tools wear off as you work the piece AND I really could not mark the sections on a plane.  I finally decided that I would baste the lines in place; it worked like a charm!  I could easily remove the basting thread as I began stitching a row, in fact, there were needle holes left from the basting making it easy to space the stitches.

Here my vest! 

Sunday, August 17, 2014

CHALLENGE: Abstraction

“An idea that is not dangerous is unworthy of being called an idea at all.” -Oscar Wilde


My 12x12 group had the challenge theme- 'Abstraction'.  I really struggle with creating abstract art and this piece was a struggle throughout. I never quite got into it or as the quote says above- it never became 'dangerous'.  I completed the exercise, but still am not happy with the finished piece, even considered disposing of it.
 An interesting struggle was when I  begun hand embroidering circles haphazardly on the top but it looked AWFUL!  I had marked the circles on the fabric with a Pilot Frixion pen (draw with the pen, iron it and it disappears); I love these pens but when you iron it, it takes a little color with it.  To make lemonade out of my lemons, I made circles ALL OVER the piece, ironed it and made it a design element!


I am hoping my next one is more inspiring!

Wednesday, June 4, 2014

EXPERIMENTATION: Free-motion Eyelets

Sewing mends the soul.  ~Author Unknown

Sometimes UFO's find the right time to become FO's (Finished Objects).  This week was just the case; I had the tiny garden piece below that I began 4-5 years ago. I decided that it just needed some petals and it's final mounting. 

When it began, this piece was made by using free-motion eyelets; essentially, you cut a small hole in your fabric, put you machine on zig zag, drop you feed-dogs, and sew around the edge of the small hole. It comes together much easier than you would anticipate. 


I planned where I wanted my eyelets, made one, then made the hole for the next eyelet as close as I was comfortable to the previous one. 
For the stems, I removed the cross-grain threads from the denim and then covered groups from the straight grain with embroidery thread. 
I decided to mount this piece on a frame, but the issue became that the denim was not large enough to cover the sides.  I chose to add cotton fabric to the sides and am more delighted than if the denim had covered it.  Happy mistakes!

Remnents
I found this delightful sewing reality show on British television called The Great British Sewing Bee. The show just finished its second season in Britain, but you can view the first season via the link below:http://www.dailymotion.com/video/x130bwl_s1e1-the-great-british-sewing-bee_lifestyle
I loved this show because of the people.  I used manage a plant in England and this show brought back memories of the workers.  I believe you, also, will find these contestants every day, lovable people with outstanding skills.  I smiled through much of this first season.

Enjoy!

Sunday, February 16, 2014

ART QUILT GROUP: Life is Like a Box of Crayons....Part II

Color is an intense experience on its own.
                                                                        ~Jim Hodges

Last month I talked about my Art Quilt Group and the our Crayon Challenge for 2014. You can read more about our Crayon Challenge here.

Our February challenge colors were dandelion, raw sienna, and tumbleweed as shown below:  

When we met this past week to show what we made using these three colors, I believe the entire group would agree with the quote at the beginning of this blog posting...it was a very intense experience!  I do not believe these colors would have been a color palette anyone in the group would have used voluntarily; thus making this a true challenge!  When we began to share, there were many comments about deserts and dead plants, but each of us had a piece that we are proud of.  

Below are the challenge pieces from the group. 

Here is my piece:


I will talk more about this piece next week, but it is a combination of rolled fabric, machine quilting, hand embroidery, Heishi beads, washers, and sand.  Yes, sand.  I will tell you more about the sand next week.


June's work is below. This is a lovely piece with some wonderful beading in the middle.

Ann's piece is a pyramid with bubbles rising to the top.  Ann is working on a quilt series using circles.


Jackie interpreted the colors as rocks with marsh marigolds.


Diane O. purchased this squiggly template at our guild show in the fall.  It was supposed to be an easy template to work with, but ending being a headache.  In the end, she placed the squiggly cut fabric down and did a raw-edge applique.


Diane S. has decided that her pieces will have a bird theme (last month her piece was called "Crime Scene").  This month she has a roadrunner.  The tree was made using Texture Magic.  If you are unfamiliar with Texture Magic, you can find out more here.

Jenny did circle appliques trimmed with hand embroidery.


Mary was inspired by the Southwest. She felt that the piece needed the black to balance the colors.


Carolyn did two. First, she did a snowy scene in the woods with beech leaves, oak leaves, and crocus.  We are allowed to used black and white with our crayon challenges.  Though she loved this piece, she felt she may have taken the black and white a bit too far so she did a second challenge (I actually thought she was genius with her strategy).


Then Carolyn's second.  She discharges the fabrics by hand.


Jackie revisited the January Challenge and crested these two pieces:

 and the second...


We ended the night by picking March's colors.
Red Orange
Red
Indigo