Sunday, December 29, 2013

CHALLENGE: Love is at the Heart of all Things....

Write it on your heart 
that every day is the best day in the year.
~Ralph Waldo Emerson

Our quarterly challenge topic is LOVE!  When I think of love, I think of hearts, in this case LOTS of hearts (64 to be precise).  This piece definitely took much, much, much more time than anticipated. The first picture is of the entire piece and each subsequent one is a close-up of a portion of it.


Sunday, December 15, 2013

LEARN: Silk Unraveled

This is re-posted from two years ago.  I recently wore this vest and it is still one of my favorites!

Nearly everyman who develops an idea works at it 
up to the point  where it looks impossible and then gets discouraged. 
That's not the place to become discouraged.
                                                                             ~Thomas A. Edison     

From my library....   I have a section in my library that is just all my favorite art-related books. These are the books that I can look at over-and-over again. Silk Unraveled by Lorna Moffat is one of those books. The above quote reminds me of how she was able to finish this book because her mother, Liz, took care of the kids. this allowed her to go into her studio and close the door- what a gift!

The vest above is one of the projects in the book.  It is made by layering different silks, stitching the motifs and then cutting away varying layers.  This book helped give me a different perspective on how to use silk in my projects.  I enjoyed the process and especially the end product!


What are some of your favorite art-related books?


Saturday, December 7, 2013

CHALLENGE: Travel Dreams

Once a year, go someplace you've never been before.
~Dali Lama

My local quilt guild had its biennial quilt show this fall. My favorite part of the show was the challenge quilts...I love, love making challenge quilts. The theme this year was Travel Dreams. I decided to make a postcard with postcards quilt from places I had visited. 

I printed postcard images from the internet onto fabric. Once printed, they seemed a bit dull so I got out paints, colored pencils, beads, crystals and glitter and 'went to town'. I satin stitched around the edge of each postcard. I assembled all the postcards to the quilt below:

The next few pictures show a quick tour around the edge of the piece.


Here are a few of my favorite postcards. 
Kalamazoo has real birch bark on the canoe, feathers for the indian's headdress, and a cloth loin cloth. 
It is tough to see here, but all the black lines on the Charleston card are machine stitching. 

Look closely and you will see that the thatched roof is made with long embroidery stitches. 

Enjoy my travels!


Sunday, December 1, 2013

INSPIRED...iPad Case

“The creative process takes its own course. 
If it did otherwise, it would not be creative.”
P.W. Martin, Author 

I made an iPad sleeve two years ago when I purchased my iPad, here is what the end product looked like:
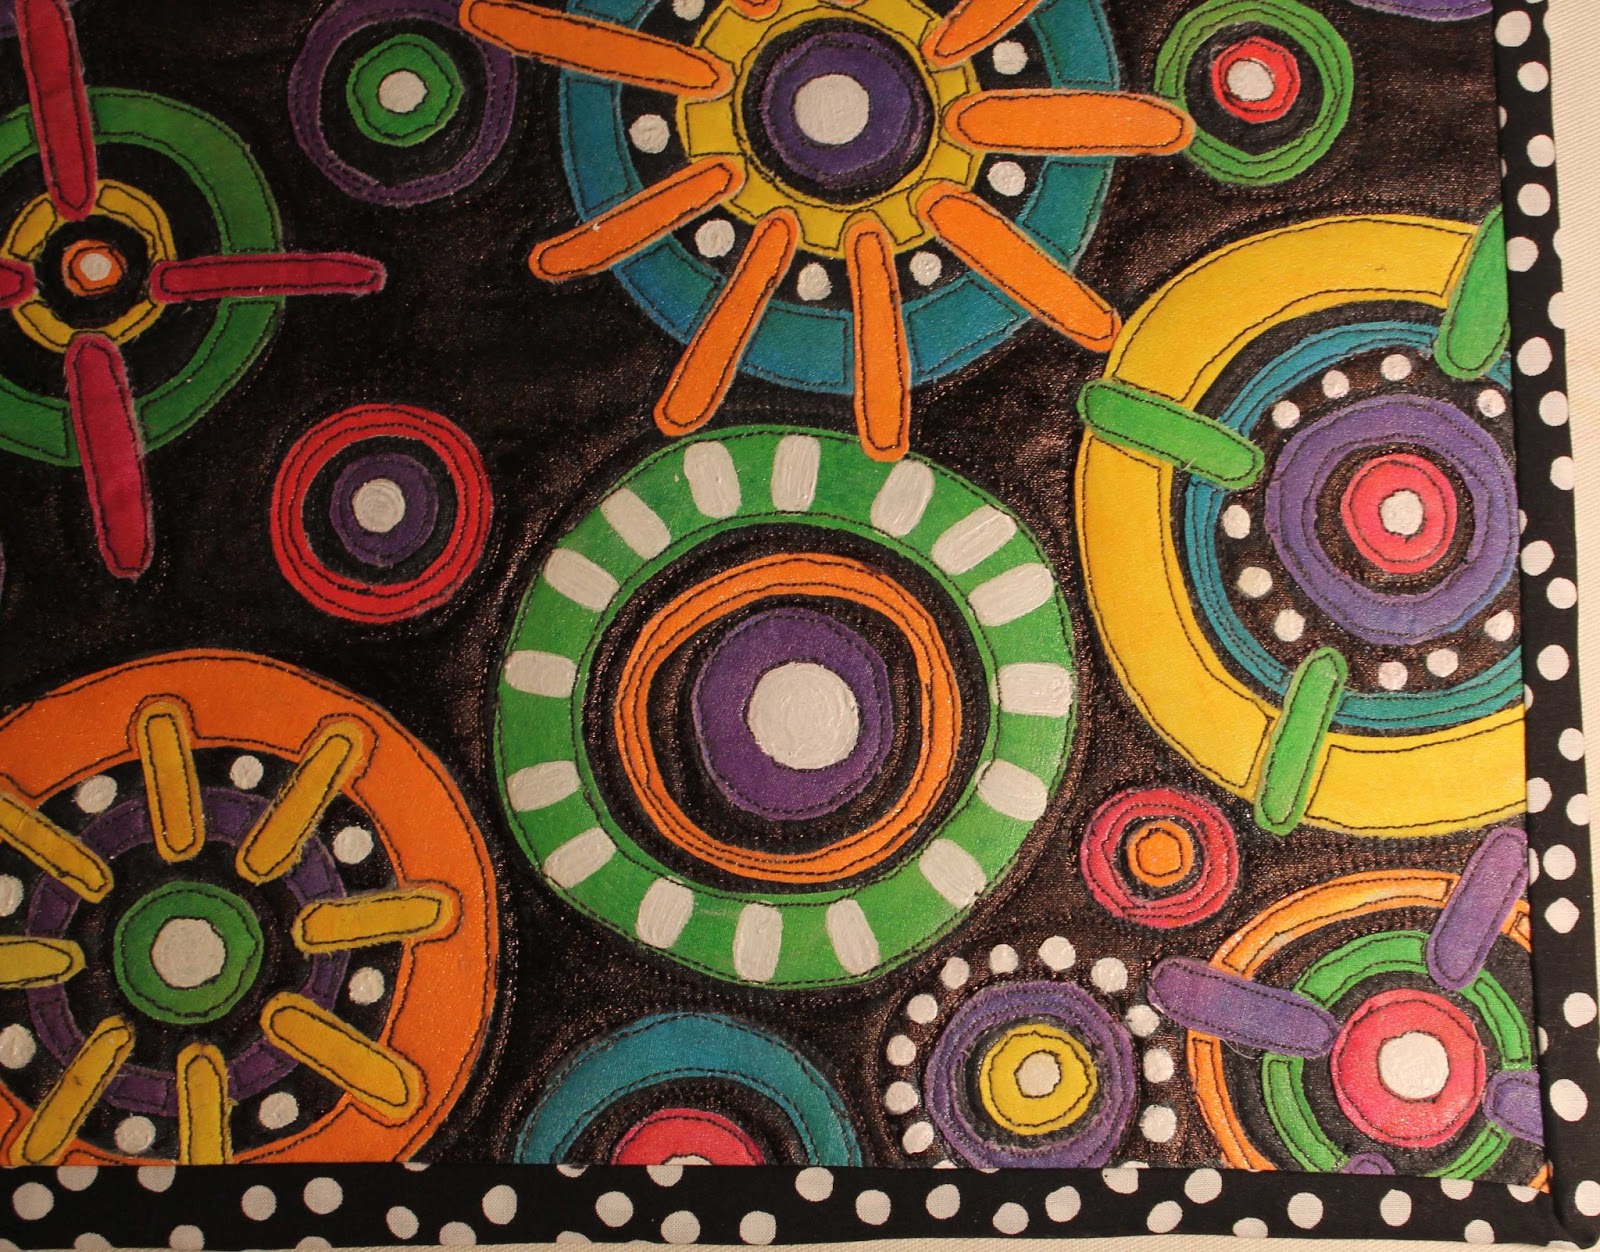
The source of inspiration came from Sue Benner; the first time I saw her work, I fell in love. Here is her website: http://www.suebenner.com/. And here is a sample of her work: 
With this information in hand, I decided that I would make two mini quilts (one for the outside and one for the lining), adhere them together, and hopefully have an iPad sleeve stable enough to protect my machine.

As shown below, I started by penciling a grid on muslin as a template for the outside quilt.
I put Steam-a-Seam on the back of cool-colored fabric, cut the fabric into 1 1/2 inch strips, and then cut the strips into squares. 
I painstakingly placed the squares onto my penciled-in grid.
I created the same squares and layout for the warm-colored fabrics and created the decorative ovals. After spending hours to get to this point, it was tough to take that first brushstroke of paint onto the fabric.  I had to play a bit with colors before I became comfortable with it. 
I did echo grid-like quilting around the ovals for the outside.  The inside lining has a beautiful citron colored silk that I machined quilted with a pattern. 
 I even have a convenient pocket for my stylus made out of ultra suede.
I used binding once the two quilts were adhered together with a large button as my closure. 

So fast forward two years and this is my iPad case...still looking good!  Before I started using my case two years ago, I brushed a wax on the outer quilt, it worked surprisingly well.  The outside looks like a fine leather that was used for a couple of years.  My regret is that I did not wax the binding and eventually the corners began to wear. I decided to wax the binding in order to save it.  It appears to be working though you can see a little wear on the corners. I bought a skin for the outside that compliments the sleeve.

 Inside lining also still looking good!  I still love this case!


Sunday, November 24, 2013

CHALLENGE: Frost

The first challenge for my 12x12 group for 2013 was "Frost".

The Frost challenge began smoothly.  I took hand-dyed fabric (ice blue) and layered hand-dyed organza (sage colored) on top.  I painted white snowflakes over the surface.  I then cut the piece into 3" x 3" squares (3.5" x 3.5" with seam allowances).  I sewed them together haphazardly and couched a thin silver braid around the snowflake edges.  I then sewed a inner and outer borders around the snowflakes using a silver rayon thread.  This is what the final background looks like...

I love the look of the background, but it needed something more and here is where my snag came.  I have hit many dead-end trials and ideas.  One of my trials was to add a cardinal bird sitting on a branch; here is my cardinal....


I really like the cardinal, but felt its style did not match the style of the snowflake background.  So, the cardinal "flew the coup".

I finished the piece by adding a butterfly, and here it is.....


Enjoy!  Kathy

Sunday, November 17, 2013

CHALLENGE: Whimsical

One of the challenges for my 12X12 group earlier this year was "Whimsical."
I was so excited about the Whimsical Challenge and immediately began three months ago what I thought would be a brilliant idea.  I worked on the piece for bit-by-bit, but it seemed to never come together, soooooooooo finally last week, I ditched it and came up with the piece below.
I like that it is a happy and colorful piece. Besides the binding, the quilt began with all white fabric. You also may notice that I varnished the quilt- I just felt it needed the shine; I am glad I did.  I am not quite done with it yet; besides removing the painter's tape on the back holding the binding down on the back :-|, I would like to add a few beads on it.

Sunday, November 10, 2013

CHALLENGE: Celestial

The latest challenge for our 12 x 12 group was "Celestial". For my celestial piece, started with white fabric and dyed it a soft blue. I selected  four different colors of Jacquard Dye-Na-Flow for each color, I ironed creases into fabric to form a star-like impression.
I loaded up a paint brush with Dye-Na-Flow and lightly moved it along the top of the creases until the paint had been used. I repeated the process for each of the four stars.
After the dyeing process, I machine echoed stitched around the stars.
Lastly, I hand embroidered each of the stars with a contrasting colored embroidery thread.
Enjoy! Kathy